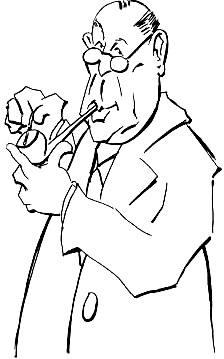
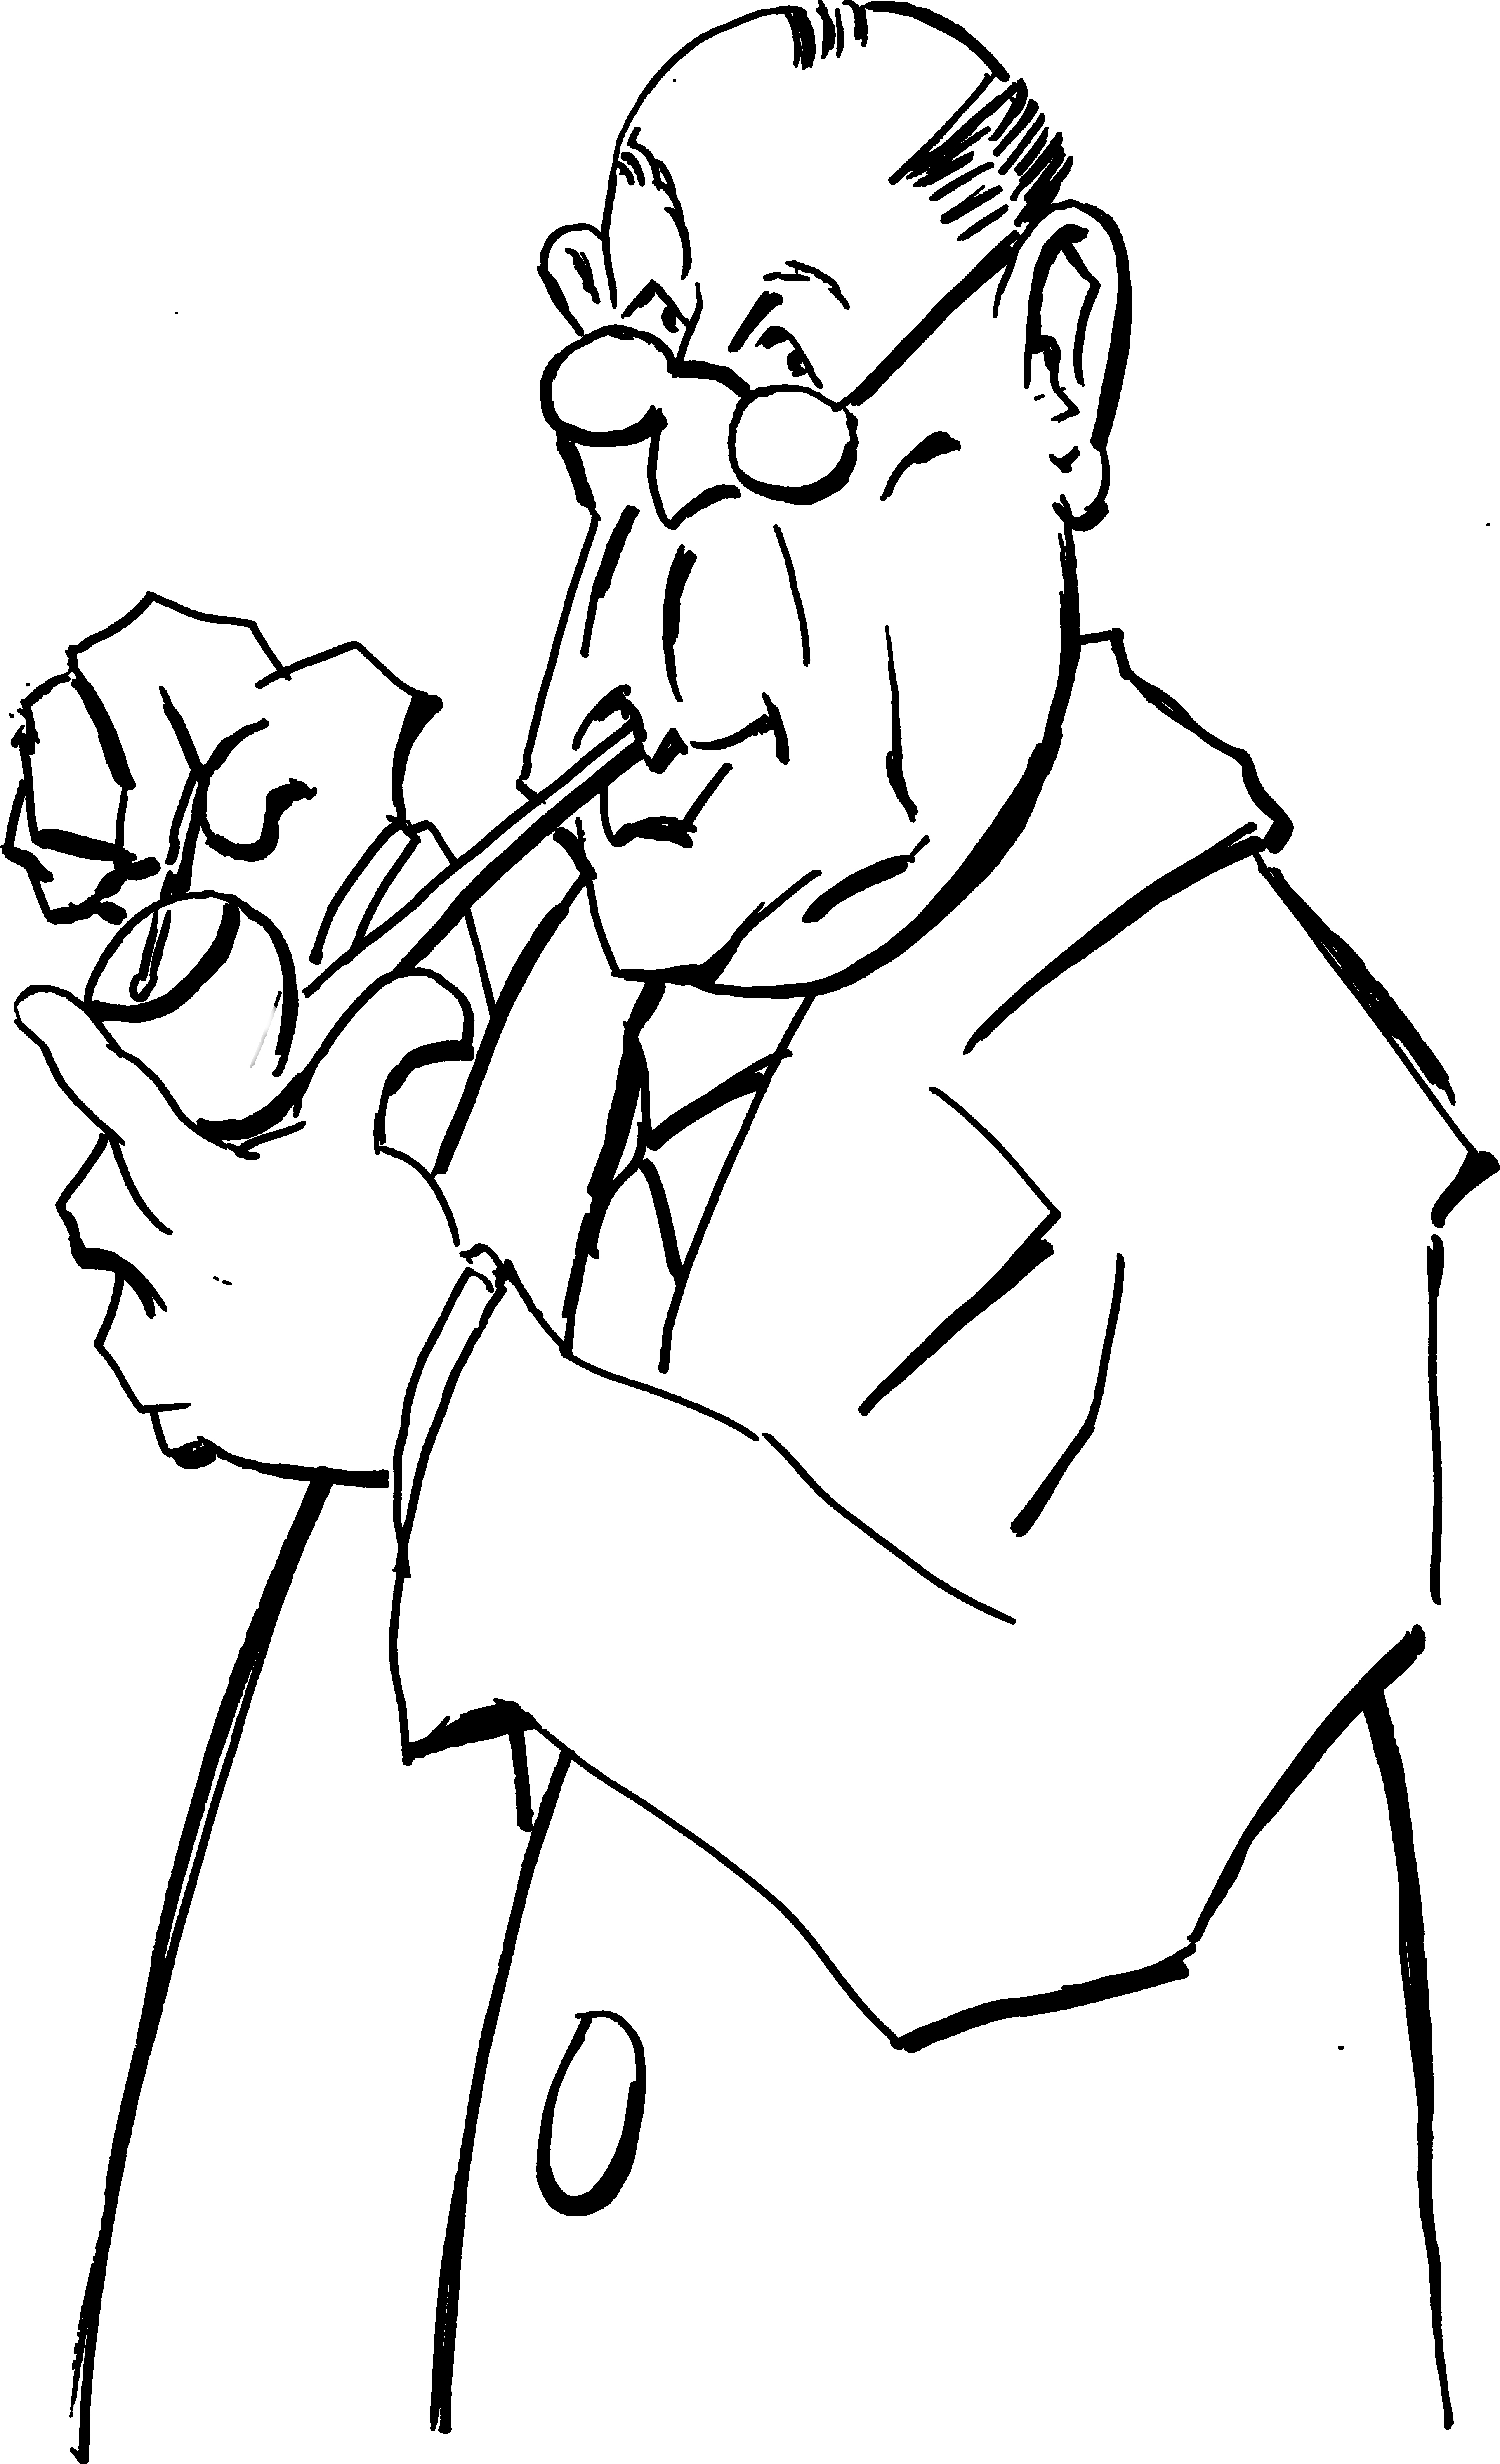
In this discussion of displaying electronic images using various formats and technology, we start off with
A Pair of Jacks

A pair of C. S. "Jack" Lewises, that is. Jack - a nickname that Clive Staples Lewis picked out for himself when a kid - is best known as the author of the Narnia tales. The Narnia tales form a series of seven short novels which have been immensely popular even though Jack's good friend and fellow Oxbridge professor John Ronald Reuel Tolkien couldn't stand them.
Now some may make the accusation that the above images are simply double dipping from the earlier tribute to Jack. But the sharp eyed viewer will note that - like any pair from a single deck - these are NOT an exact match.
If the differences are not readily evident, any doubt can be cleared up if you zoom in on the images. Those knowledgeable of digital image formats will then note that the left picture has the slightly blurry look of a bitmap.
Bitmap Image
(Click on the image to switch to vector.)
But if you click on the image above you'll notice it immediately sharpens up. That's because the click switches the zoomed bitmap for a vector image (and vice versa). Strictly speaking, the bitmap is replaced by a scaleable vector graphic - SVG - image.
On the other hand the most common electronic images - JPEG's, TIFF's, PNG's, and GIF's - are bitmaps. A bitmap displays the image as a grid of dots of the required colors in an area on the computer screen. In our bitmap of Jack, the dots - that is, the pixels - are mostly black and white with a few scatterings of gray. The pixel is the smallest unit of display on a computer screen and the traditional size is 72 pixels per inch - called dpi or "dots per inch".
Actually pixels are not really dots - ergo, round - but are tiny squares on the screen.1 Zooming in on the image takes a pixel of a particular color and creates a square cluster of the same color. So expanding a bitmap makes the image bigger but not sharper. If you expand a bitmap the edges get blurry and blocky.
Footnote
That reminds us of the backwoodsman whose son went to college. When the son came home for the holidays his dad asked him what he was studying.
"One thing I'm studying," his son said, "is geometry."
"What did you learn there?" his pa asked.
"Well," the son replied, "I learned Pi R-Squared (πr2)."
"You mean you went to college to learn that?" his pa snorted. "Why, everyone knows pie are round. Cornbread are square!"
But a vector image is created by the computer plotting equations. Then as you zoom in, the computer simply redraws the equation. But because the variable of the equations is a single pixel, no matter how much you zoom the edges of the lines stay sharp and crisp.
Vector Image
(Click on the images to switch to bitmap.)
So if you click on the image to change from vector to the bitmap, the difference in the two formats is obvious.
At this point it might be helpful to see the actual equations that generate a scaleable vector graphics file. Although the equations are like those you learned in school such as r2 = c, E = mc2, or y = a2 + b2 + c2, they look strange because they are written with a special code that the computer interprets to determine what type of equation to draw.
For instance if you want an equation for a vector drawing of a circle with a radius of 25 pixels and a line width of 2 pixels centered in a region of the window, the "equation" the computer reads is something like:
<circle r="25px" cx="50%" cy="50%" stroke="black" stroke-width="5px" />
... and what you see is:
And if you make it larger you just increase the radius (r) to something like 50 pixels:
<circle r="50px" cx="50%" cy="50%" stroke="black" stroke-width="5px" />
And the computer just draws a bigger circle.
On the other hand if you want an image like:
... the equation is:
<circle r="50px" cx="50%" cy="50%" stroke="black" stroke-width="2px" fill="none" />
<circle r="2" cx="40%" cy="40%" stroke="black" stroke-width="2px" fill="black" />
<circle r="2" cx="60%" cy="40%" stroke="black" stroke-width="2px" fill="black" />
<path id="lineAC" d="M 75 110 q 25 40 50 0" stroke="black" fill="none" stroke-width="2"/>
All vector graphics files are combinations of such equations for lines, rectangles, circles, ellipses and parabolic sections (called "bezier" curves). If you imagine that to make a drawing look like, well, like a drawing, then the equations have to be quite numerous, lengthy, and complex you would be quite correct.
In fact equations even for simple drawings become so complicated that you have to have the special software to create the files. (For those who want to see the "equation" that drew the picture of Jack, you can open it up in a new window if you click here.)
On the other hand, the raggedly bitmap image of Jack was scanned from a traditional hand-rendered ink drawing and reduced to "screen resolution" of 72 dpi. Of course the original drawing can be digitalized at a higher resolution. In print media or as a digital art print, the resolution would be something more like 600 dpi.
Because in the first days of the digital era, memory storage was at a premium, the rule was to use the lowest resolution that still looked good. And when displayed on a screen, 72 dpi usually sufficed. For instance, you can compare the 72 dpi image to a 600 dpi print-quality picture.

72 dpi

600 dpi
On screen the two images are nearly identical with the 72 dpi image being only slightly fuzzier. But the 600 dpi image requires 1,400 kilobytes (1.4 megabytes) of storage space while the 72 dpi image needs only 29 kilobytes.2 For most website uses, the lower resolution works perfectly well.
Footnote
Those conversant with electronic images know that different types of bitmaps have different memory requirements. TIFF files - Tag Image File Format - tend to be large but are good for reproducing images at high resolution. Historically TIFF files have been popular with graphic artists and photographers.
The JPEG or JPG file - Joint Photographic Experts Group files - "compress" the file image so it requires less storage than a TIFF file but can still produce good quality visual images. Today it is still the most popular file format as it has a wide range of colors available.
GIF - Graphics Interchange Format - files are also smaller files than TIFFs. GIF files are restricted to 256 colors and so have limits on the amount of shading and blending that's possible. On the other hand, GIF files - unlike JPEGs - can have a "transparent" background. The background of JPEGs must be some color.
GIF files can also store multiple images in "layers" to produce what are called animated GIF that when displayed in a browser produce animated images. GIFs are not as widely used as in the olden days but there can still be reasons to prefer them over other formats.
The PNG - Portable Network Graphics - files were introduced in the mid-1990's and are suitable for reproducing high quality images on the Internet but while still maintaining reasonable economy of storage. They also have the option for transparent backgrounds.
Conversion from one format to another is common, and virtually all graphics programs - including those found online - can convert one file type to another.
The vector image of Jack shown above was actually "hand-drawn" using a vector graphics program. It was drawn to be close to the original but as you can see some gaps in the lines were closed and some of the more raggedly lines were smoothed or removed. But for those who want an exact vector image of the original, there is software that will scan a hand drawing with all its imperfections and covert it to the vector equations. So the original drawing - displayed below on the left as a high resolution bitmap scan - and the vector image on the right will essentially look the same:

Orignal
Scanned Vector
Image
Zooming in on the original drawing shows us that even on close inspection the two images still look virtually identical:
Original Scanned Ink Drawing
(Click on the image to switch between vectorized image.)
As to why you should go to the trouble of hand-rendering a vector image when you can just scan in a drawing, the "hand-drawn" vector image of Jack requires 131 kilobytes and the scanned image takes up 335 kilobytes (remember the high resolution scan of the hand drawn image requires a whopping 1,400 kilobytes). Although over the decades computer memory capability has grown exponentially to fit Moore's Law, it's still a good idea to be economical with the storage space.
If you zoom in enough on any bitmap - no matter the resolution - eventually you'll come across ragged or blurry edges. In our example here with the high resolution bitmap copy, if you zoom in over 8000 times the raggedness shows up3:
Footnote
On the other hand there are times where you want blurry and fuzzy edges. In rendering photographs or reproducing copies of paintings - particularly "classical" paintings from artists like Leonardo da Vinci, Michelangelo, Caravaggio, or Gainsborough - the "blended" edges of the paintings will necessarily require some "fuzzing" of the digital edges.
In fact if you are creating digital images from scratch, it is often advantageous to work with sharp boundaries. If you work with the fuzzy edges and alter color or tones you can end up with the pesky and annoying "halos" around the areas of different colors. To avoid the halos you create the image with sharp edges - with the "antialias" option turned off - but then you make a copy with slightly blurred the edges for display.
Original Scanned Ink Drawing (8400% Zoom)
(Click on the image to switch between vectorized image.)
But if you click on the image you'll see the vector image at the same zooming. Like the old shaving commercials used to say, it's SMOOTH.
So when you need to expand an image for a poster or banner, a scanned vector image can reproduce an original drawing nearly exactly and still keeps the edges smooth. Expanding a bitmap might produce ragged lines. Unwanted raggedness is a common and disagreeable surprise for those who take an bitmap image to a copy shop for a large print copy.
There is a bit of a balancing act on whether making a scan or creating the vector image from scratch - by "hand" - is preferable. The scanning is quicker by a long shot but usually produces the larger file. Drawing a vector image from start to finish is more time consuming and might even take more time than making an ink drawing by hand, particularly if the computer doesn't have all the fancy doo-dads and peripherals to speed up the drawing process. There can be a lot of finagling in connecting and orienting the lines in vector graphics.
Of course today color images are de rigueur which means that modern publications lamentably abjure the old black and white drawings that were the mainstay of the classic era of illustrations and remain a true art form in their own right. Of course the memory requirements for colorized vector files grow quickly and depend on the number of colors. If you have realistic shading and highlights you might get into the megabyte file sizes even for simple pictures. On the other hand, if a large image is to be seen from a distance - such as from a billboard off the side of the road - lower resolution images might serve perfectly well.
At this point the curmudgeons may ask why bother with working with vector images at all. I mean why make a drawing needing a couple of hundred kilobytes when an image of only 30 kilobytes will do the job? We've always wanted to know that.
Captain Mephisto
(Vector Image)
We understand.
No doubt you have as Captain Mephisto - seen here in a vector image - said to Sidney Brand. It's very simple really.
In the old days the rules for illustrators was "work large/print small". That is, the original art is created at a larger size than it will appear in the publications. Then when the drawing is shrunk down, any inadvertent regularities are smoothed out.
In the Golden Age of Comics a page might be drawn on a 11" X 17" sheet of 96 pound Bristol board. The page would then be photographically reduced down to comic book size of 6.875" X 10.438" (6.625" X 10.187" when trimmed for "bleed"). So you get the nice smooth lines of the classic comics.
But in vector drawing often a small pencil sketch on nothing larger than 8½" X 11" all-purpose (i. e. printer) paper is all the hand drawing needed. The initial drawing doesn't need to look pretty since the permanent lines are added using vector drawing tools which are the equivalent of using straight edges and French curves. So instead of using the large dimension multi-ply and heavy (and expensive) paper, all you need is to grab a sheet of printer paper, whip out the sketch, and then use it in the computer as a guide for the vector lines. If you need the color, you can add it later.
Because you're working small and using quick sketches, the final vector drawings can be rendered simpler than the non-digital drawing. Fortunately you can draw Jack with few well placed lines. Some critics may even hold that the simplified vector image looks better than the original hand drawing.
Simplified Vector Drawing
(Click on the image to switch to original ink drawing.)
Traditional artists who are learning digital techniques are sometimes surprised that making even small corrections - supposedly simple in the computer - can be nigh on as onerous an undertaking a new drawing from scratch. On the other hand making actual additions to a vector image can be fairly straightforward as we see in converting the half-length portrait of Jack to full-length.
Portrait of Jack
(Click on the image to switch to full-length portrait.)
Of course, vector files can be colored and with proper economy of line, the file sizes can be kept low. For instance, our full length portrait of Jack can be colorized simply by drawing and filling in the enclosed areas with a selected color. Tone and highlights are added by creating sub-regions of darker and lighter colors. Avoiding blending and chiaroscuro helps save storage space. The file size of the Jack's black and white full length portrait is 126 kilobytes while the added colors only upped the storage by an extra 29 kilobytes. Quite economical!
Full-Sized Jack
(Vector Image In Color)
(Click on image to zoom in and out.)
But even with the colorized drawing if low storage is needed and you're simply posting on a webpage, the corresponding 72 dpi bitmap at 26 kilobytes might serve the purpose quite well, thank you.

72 dpi Bitmap
(26 kilobytes)
Vector Image
(155 kilobytes)
So when you get down to it, you can take your pick based on your needs: low resolution bitmaps for websites, high resolution bitmap scans of original art for the connoisseurs, vector scans for the poster makers, and the simplified hand drawn vector art for the artist in a hurry.


After all, four Jacks is hard to beat.
You can learn more about Jack, his life, and his times, if you just click here.